Bee Balm Seeds: How to Grow & Care for This Pollinator Magnet
Last spring, on a total whim, I picked up a packet of bee balm seeds from a local nursery here in Central Florida. I didn’t even know much about them—just thought the name sounded cute and the flowers on the packet looked pretty. I tossed the seeds into a patch of soil along my fence line, didn’t expect much… but wow. A few weeks later, the flowers were blooming like crazy and the bees and butterflies? Nonstop visitors. Even a few hummingbirds showed up. It honestly felt like nature threw me a thank-you party.
I’m not a pro gardener or anything—I just like getting my hands dirty and watching things grow. And what surprised me the most was how simple it was. Bee balm isn’t fussy. Florida’s heat, humidity, even the occasional downpour—it handled it all just fine. I barely did anything except water it when I remembered.
So if you’re thinking about starting your own little pollinator patch, especially here in the South, bee balm is a total win. I’ll share exactly how I grew mine, what worked, what didn’t, and a few tips to make sure yours thrives too.
What is Bee Balm and Why Gardeners Love It?

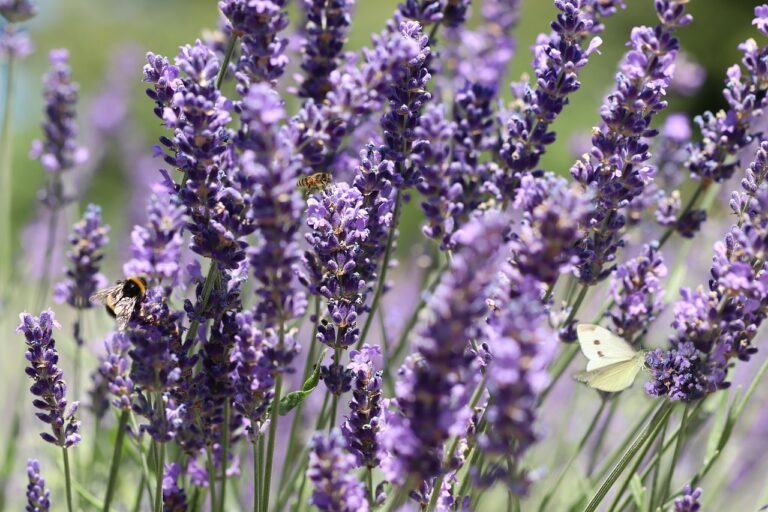
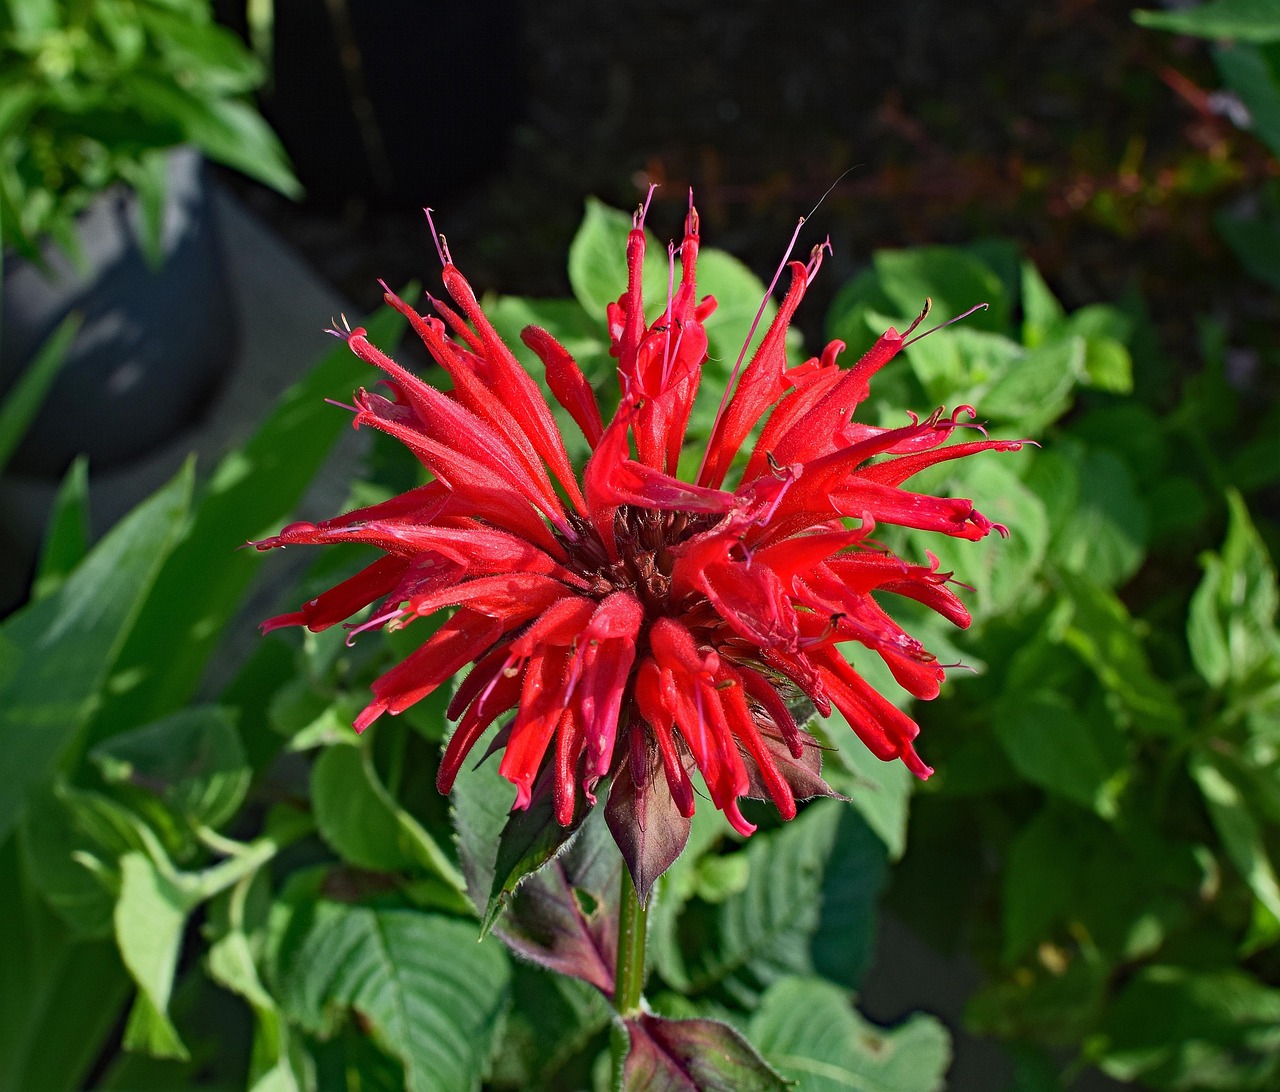
Bee balm is one of those plants that instantly makes your garden feel alive. Native to North America, bee balm (also known as Monarda) is a vibrant, fragrant flowering herb that belongs to the mint family. With its bold red, pink, lavender, or purple blooms, it’s a pollinator magnet that draws in bees, butterflies, and hummingbirds like a charm.
I first discovered bee balm at a friend’s garden in North Carolina. The color and movement around those flowers caught my eye—bees were buzzing, butterflies were floating in and out, and it smelled amazing. I knew I had to try growing it myself.
One of the reasons gardeners across the U.S. love bee balm is how easy it is to grow. It’s low-maintenance, thrives in full sun, and spreads over time, filling in bare spots naturally. Plus, it’s deer-resistant and grows well in a variety of soils, which makes it perfect whether you’re gardening in Florida’s heat, Midwest humidity, or a cooler northern climate.
Whether you’re planting for pollinators, color, or simply the joy of gardening, bee balm is a tried-and-true favorite you’ll fall in love with, just like I did.
Types of Bee Balm Seeds You Can Grow
When I first started looking into bee balm seeds, I honestly thought there was just one kind. But once I dug a little deeper (literally and figuratively!), I was surprised by how many beautiful types are out there—each with its own vibe and personality.
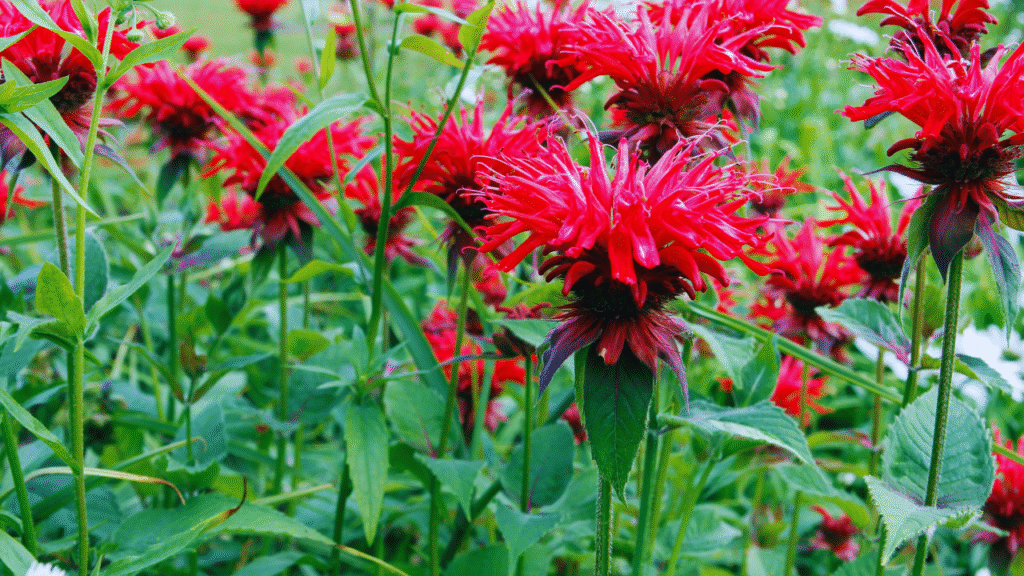
One of the first ones I tried was Scarlet Bee Balm (Monarda didyma). It has these bold red flowers that really pop in the garden—and the hummingbirds? Obsessed. It grew like a champ here in my Florida yard, even with the crazy summer humidity. Then I tried Wild Bergamot (Monarda fistulosa), which has softer lavender blooms and a more relaxed, wildflower look. The bees loved it just as much, and it gave the garden this peaceful, prairie feel.
There are also smaller, space-saving varieties like ‘Balmy Rose’ and ‘Petite Delight’—perfect if you’re working with containers or a tighter spot near a porch or patio.
In my experience, mixing a few different types of bee balm seeds is the way to go. You get a longer bloom season, more color variety, and way more pollinators hanging around. It’s one of the easiest ways to turn a basic garden into a buzzing, blooming haven.
How to Plant Bee Balm Seeds?
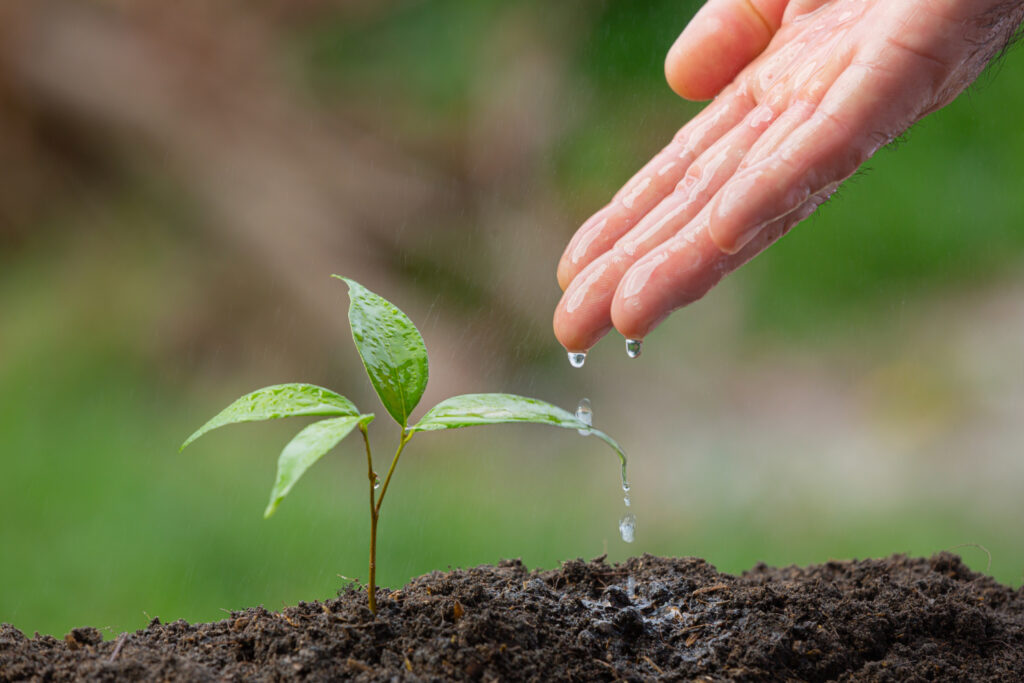
Planting bee balm seeds is one of those easy, low-stress garden projects that pays off big time. I’ve grown it both indoors and directly in the ground here in Florida, and both methods worked great—with just a little patience and the right timing.
When is the Best Time to Sow Bee Balm Seeds?
If you’re in a warmer state like Florida or anywhere in the South, late fall to early spring is perfect for direct sowing. In cooler northern regions, wait until after the last frost or start seeds indoors about 6–8 weeks before your average last frost date.
Step-by-Step Sowing Instructions
- Choose a sunny spot (at least 6 hours of sun).
- Prep the soil by loosening it and mixing in some compost.
- Lightly scatter the bee balm seeds on the surface—don’t bury them deep! They need light to germinate.
- Gently press them into the soil and mist with water.
- Keep the area moist until seedlings appear, usually in 10–20 days.
Starting Indoors vs Direct Sowing
I’ve started it indoors using small pots and a sunny windowsill—it’s great if you want a head start. But direct sowing feels more natural and works well in most U.S. climates. Either way, once those blooms appear, you’ll be glad you planted them.
Growing Bee Balm: Care Tips
Planting bee balm seeds is one of those easy, low-stress garden projects that pays off big time. I’ve grown it both indoors and directly in the ground here in Florida, and both methods worked great—with just a little patience and the right timing.
When is the Best Time to Sow Bee Balm Seeds?
If you’re in a warmer state like Florida or anywhere in the South, late fall to early spring is perfect for direct sowing. In cooler northern regions, wait until after the last frost or start seeds indoors about 6–8 weeks before your average last frost date.
Step-by-Step Sowing Instructions
- Choose a sunny spot (at least 6 hours of sun).
- Prep the soil by loosening it and mixing in some compost.
- Lightly scatter the bee balm seeds on the surface—don’t bury them deep! They need light to germinate.
- Gently press them into the soil and mist with water.
- Keep the area moist until seedlings appear, usually in 10–20 days.
Starting Indoors vs Direct Sowing
I’ve started bee balm seeds indoors using small pots and a sunny windowsill—it’s great if you want a head start. But direct sowing feels more natural and works well in most U.S. climates. Either way, once those blooms appear, you’ll be glad you planted them.
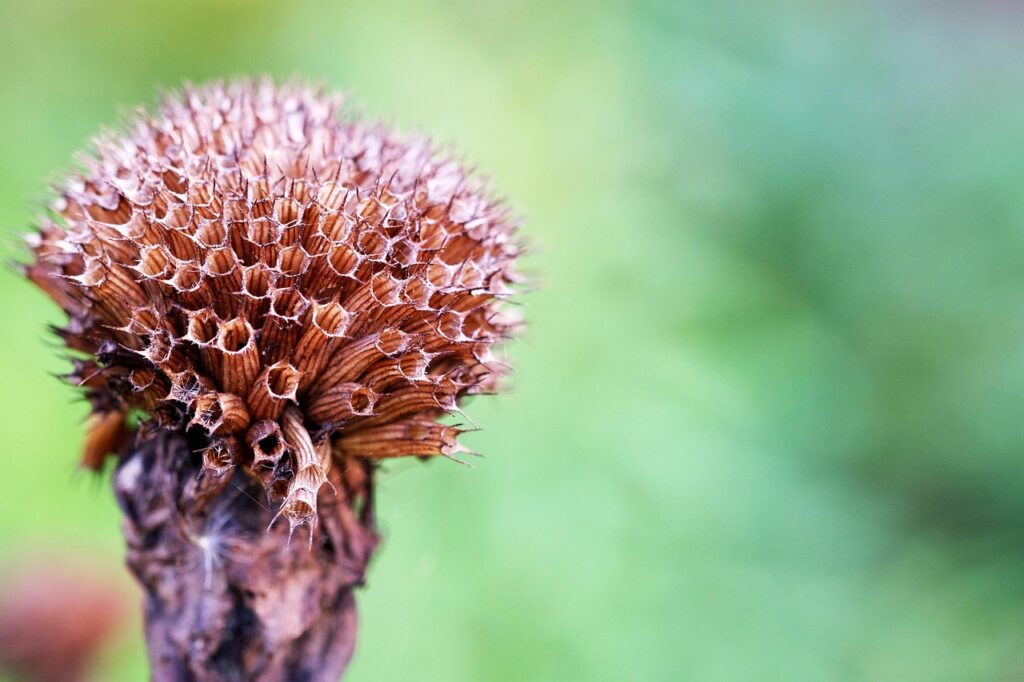
Harvesting and Saving Bee Balm Seeds
Saving bee balm seeds has become one of my favorite end-of-season rituals. The first time I did it, I honestly wasn’t sure if I was doing it right—but it turned out to be super simple, and now I look forward to it every year.
Usually by late summer here in Florida, the vibrant flowers start fading and drying up. That’s when I know it’s time. I just wait for the seed heads to turn brown and papery—no rushing it. Once they’re dry, I clip them off and drop them into a paper bag. I leave them on the counter for about a week to make sure they’re fully dried out.
Then comes the fun part: gently crumbling the heads and picking out those tiny black seeds. I store mine in a little envelope with the date scribbled on it. It’s oddly satisfying, like wrapping up a season of hard work and beauty into a tiny package for next year.
Final Thoughts: Why Bee Balm Seeds Deserve a Spot in Your Garden
I didn’t expect bee balm seeds to become one of my favorite things in the garden—but here we are. When I first planted them, I was mostly just curious. I’d seen a few photos online, heard they were good for pollinators, and figured, “Why not give it a try?”
A few months later, I was sitting on my back porch, coffee in hand, watching hummingbirds dart around these wild, colorful blooms I’d grown myself. And not just hummingbirds—bees, butterflies, all kinds of life I didn’t even notice before. It just made the whole space feel more alive.
The best part? Bee balm is easy. Seriously. Whether you’re in Florida like me, or gardening somewhere up north, these plants don’t ask for much. A little sun, a bit of water, and they’ll reward you with blooms and pollinators year after year.
If you’ve got a sunny spot and want something low-maintenance but full of life, bee balm seeds are 100% worth it. I’m glad I gave them a shot—and I think you will be too.
Frequently Asked Questions
The best time to plant bee balm seeds is in early spring after the last frost, or in fall if you’re in a warmer climate like the South.
Yes! Bee balm seeds need light to germinate, so don’t bury them deep—just press them gently into the soil surface.
Absolutely. I’ve had great success growing bee balm seeds in large containers. Just make sure the pot gets plenty of sun and drains well.
They usually sprout in about 10 to 20 days, depending on the temperature and moisture. Be patient—they’re worth the wait!
Bee balm is a perennial in most parts of the U.S., so once your bee balm seeds establish, you’ll see them return year after year with minimal effort.
Table of Contents
- Bee Balm Seeds: How to Grow & Care for This Pollinator Magnet
- What is Bee Balm and Why Gardeners Love It?
- Types of Bee Balm Seeds You Can Grow
- How to Plant Bee Balm Seeds?
- Growing Bee Balm: Care Tips
- Harvesting and Saving Bee Balm Seeds
- Final Thoughts: Why Bee Balm Seeds Deserve a Spot in Your Garden
- Frequently Asked Questions
- Mona Lavender Plant: Complete Growing Guide for Beginners
- Alocasia Stingray Plant Guide: Tips for Healthy Growth
- Pink Lilly Flower: Growing and Caring for Pink Lillies